Overview of the Comprehensive Unit-based Safety Program for Application to Mechanically Ventilated Patients: Slide Presentation
AHRQ Safety Program for Mechanically Ventilated Patients
Slide 1: AHRQ Safety Program for Mechanically Ventilated Patients
Overview of the Comprehensive Unit-based Safety Program for Application to Mechanically Ventilated Patients
Slide 2: Learning Objectives
After this session, you will be able to—
- Explain the vision of Comprehensive Unit-based Safety Program (CUSP) teams.
- List the five steps of CUSP.
- Describe the benefits of the Staff Safety Assessment (SSA).
- Administer the SSA.
- Conduct a premortem exercise with your team to proactively identify risks.
Slide 3: Comprehensive Unit-based Safety Program (CUSP)
Comprehensive Unit-based Safety Program (CUSP)
Slide 4: Why CUSP?
- Designed to improve safety culture and help users learn from mistakes.
- Values the wisdom of frontline staff.
- Empowers staff to be actively engaged in safety improvements.
- Linked with improvements in clinical outcomes and human resources outcomes.
- Helps eliminate barriers between staff and senior leadership.
Slide 5: CUSP Vision
- We treat each patient we care for the same way we would want our family members treated.
- We do not accept any preventable harm as an option.
- We don’t settle:
- Our safety culture empowers us to achieve excellence in patient safety and quality.
- We believe in our power to speak up when we have safety concerns and we share this belief with others.
Slide 6: CUSP Vision
- We keep an eye on our systems, with the goal of designing and improving systems that support us in our aim of delivering safe, quality care.
- We see defects as opportunities for continuous learning, and as a team, we tackle these opportunities because together we are stronger.
- We see patients and family members as part of our care teams, because we know that safe, quality care demands their involvement.
Slide 7: Steps of CUSP1
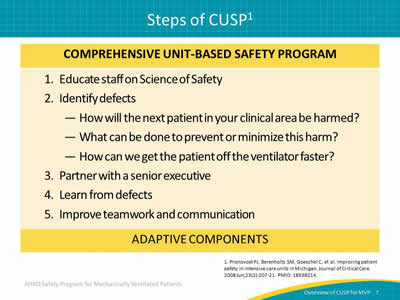
Image: Chart of five adaptive components of CUSP: Educate staff on the Science of Safety, identify defects, partner with a senior executive, learn from defects, and improve teamwork and communication.
1. Pronovost PJ, Berenholtz SM, Goeschel C, et al. Improving patient safety in intensive care units in Michigan. Journal of Critical Care 2008 Jun;23(2):207-21. PMID: 18538214.
Slide 8: Steps of CUSP
- Educate staff on Science of Safety:
- Help teams develop lenses to focus on system factors that can negatively impact care.
- Identify defects:
- Learn from staff reports of safety concerns, event reports, etc.
- Be proactive—ask staff how the next patient will be harmed.
- Partner with a senior executive:
- Work with a senior executive to develop a shared understanding of local defects.
- Build consensus, plan to mitigate defects, and develop shared accountability for implementing the plan.
Slide 9: Steps of CUSP
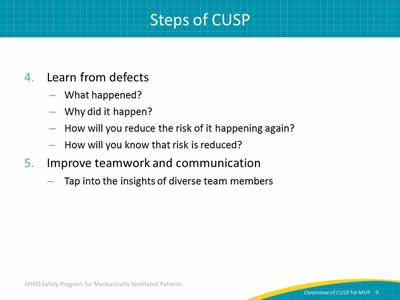
- Learn from defects:
- What happened?
- Why did it happen?
- How will you reduce the risk of it happening again?
- How will you know that risk is reduced?
- Improve teamwork and communication:
- Tap into the insights of diverse team members.
Slide 10: Successful CUSP Teams
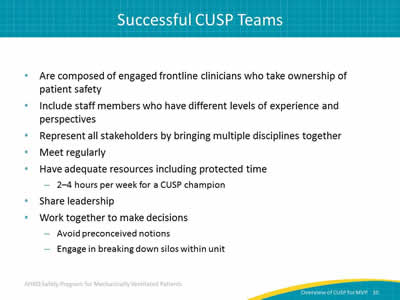
- Are composed of engaged frontline clinicians who take ownership of patient safety.
- Include staff members who have different levels of experience and perspectives.
- Represent all stakeholders by bringing multiple disciplines together.
- Meet regularly.
- Have adequate resources including protected time:
- 2–4 hours per week for a CUSP champion.
- Share leadership.
- Work together to make decisions:
- Avoid preconceived notions.
- Engage in breaking down silos within unit.
Slide 11: Core CUSP Team Roles
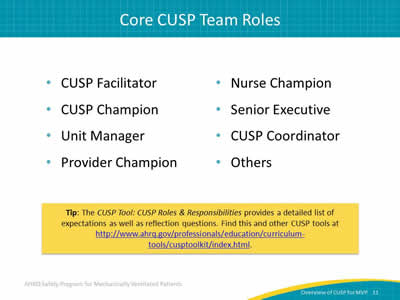
- CUSP Facilitator.
- CUSP Champion.
- Unit Manager.
- Provider Champion.
- Nurse Champion.
- Senior Executive.
- CUSP Coordinator.
- Others.
Tip: The CUSP Tool: CUSP Roles & Responsibilities provides a detailed list of expectations as well as reflection questions. Find this and other CUSP tools at http://www.ahrq.gov/professionals/education/curriculum-tools/cusptoolkit/index.html.
Slide 12: Safety Program Team Members
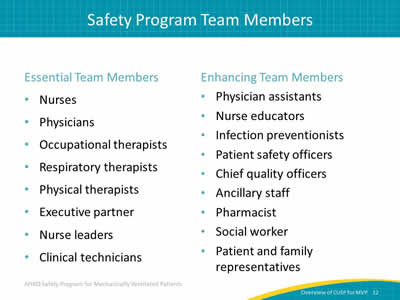
Essential Team Members:
- Nurses.
- Physicians.
- Occupational therapists.
- Respiratory therapists.
- Physical therapists.
- Executive partner.
- Nurse leaders.
- Clinical technicians.
Enhancing Team Members:
- Physician assistants.
- Nurse educators.
- Infection preventionists.
- Patient safety officers.
- Chief quality officers.
- Ancillary staff.
- Pharmacist.
- Social worker.
- Patient and family representatives.
Slide 13: Strong CUSP Teams
- Share a strong team orientation.
- Understand the advantage a team approach offers.
- Share a mental model of the team’s mission.
- Work together to achieve the mission.
- Build frameworks for team behaviors or norms.
Slide 14: Staff Safety Assessment (SSA)
Staff Safety Assessment (SSA)
Slide 15: Principles of Science of Safety
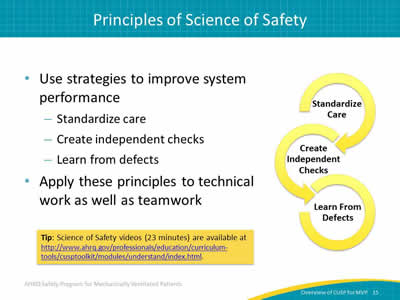
- Use strategies to improve system performance:
- Standardize care.
- Create independent checks.
- Learn from defects.
- Apply these principles to technical work as well as teamwork.
Tip: Science of Safety videos (23 minutes) are available at http://www.ahrq.gov/professionals/education/curriculum-tools/cusptoolkit/modules/understand/index.html
Image: Figure with continuous arcs encircling the following terms:
- Standardize care.
- Create independent checks.
- Learn from defects.
Slide 16: Staff Safety Assessment
- Taps wisdom of frontline providers.
- Helps providers understand the patient safety risks in their clinical areas.
- Gives insight into potential solutions to these problems.
- Leverages frontline wisdom to guide safety improvement efforts.
Slide 17: Staff Safety Assessment
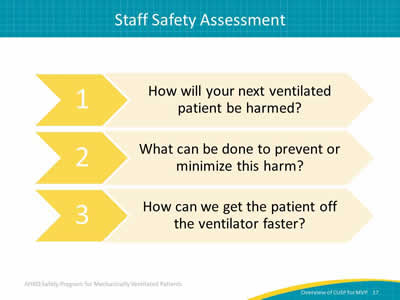
Image: Graphic of numbered list made up of arrows pointing right:
- How will your next ventilated patient be harmed?
- What can be done to prevent or minimize this harm?
- How can we get the patient off the ventilator faster?
Slide 18: Staff Safety Assessment
The SSA should be—
- Coordinated by a safety program lead or designee.
- Administered to ALL staff:
- Immediately after training on the Science of Safety so providers have lenses to see system problems.
- Incorporating an SSA collection box:
- To encourage staff to report safety concerns.
- To drop completed forms in an accessible location.
- Completed at least every 6 months.
Slide 19: SSA: Next Steps
Present the Science of Safety video and administer SSA during these ideal times:
- Medical staff grand rounds.
- New staff orientation.
- Regularly scheduled staff meetings.
- Lunch session.
- Special educator sessions.
- Annual recertification requirements.
Tip: Make the Science of Safety video available in the break room and on the hospital intranet.
Slide 20: Training Steps and Tools

Image: Table showing the following:
Next Step:
- Educate team of science of safety.
- Record staff that completes training.
- Administer SSA.
- Collate results of SSA and share with team.
Tools to Use:
- Science of Safety video (23 minutes).
- Science of Safety training attendance sheet.
- SSA.
- Reference this presentation for help with sharing results.
Slide 21: Interpreting SSA Results
Prioritize identified defects using the following criteria:
- Likelihood of the defect harming the patient.
- Severity of harm the defect causes.
- Frequency of the defect occurrence.
- Likelihood of preventing defect in daily work.
Slide 22: Key Takeaways
- Patient safety efforts are not just about checklists.
- CUSP brings adaptive work into the change process.
- CUSP teams integrate the principles of safe design into the day-to-day activities:
- Standardize care.
- Create independent checks.
- Learn from defects.
- SSA taps the wisdom of frontline staff:
- How will the next patient in your clinical area will be harmed?
- What can be done to prevent or minimize this harm?
- How can we get the patient off the ventilator faster?
Slide 23: Premortem Exercise
Premortem Exercise
Slide 24: Preparing to Lead
- In a postmortem, an autopsy is performed to learn why a patient died. While it may be helpful to those interested in the results, it does not help the central figure in the medical drama—the patient.
- The Premortem Exercise is used to identify potential barriers and vulnerabilities to project success before they occur. It builds intuition about and sensitivity to future problems.
Slide 25: Premortem Exercise
Step 1
- Imagine that we are 2 years into the future and, despite all of the team’s efforts, the project has failed catastrophically. Things have gone completely wrong on a number of fronts.
- Now, ask:
- What does the worst-case scenario look like?
Slide 26: Premortem Exercise
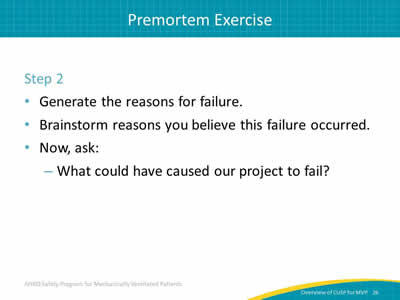
Step 2
- Generate the reasons for failure.
- Brainstorm reasons you believe this failure occurred.
- Now, ask:
- What could have caused our project to fail?
Slide 27: Premortem Exercise
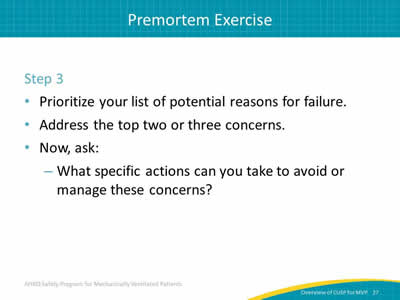
Step 3
- Prioritize your list of potential reasons for failure.
- Address the top two or three concerns.
- Now, ask:
- What specific actions can you take to avoid or manage these concerns?
Slide 28: Premortem Exercise
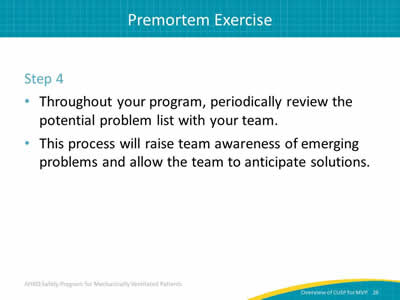
Step 4
- Throughout your program, periodically review the potential problem list with your team.
- This process will raise team awareness of emerging problems and allow them to anticipate solutions.
Slide 29: Premortem Exercise
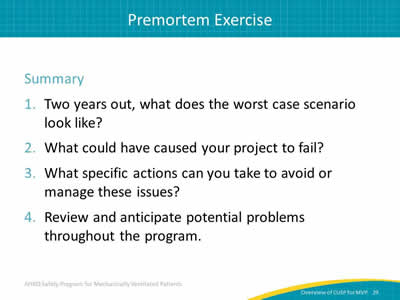
Summary:
- Two years out, what does the worst case scenario look like?
- What could have caused your project to fail?
- What specific actions can you take to avoid or manage these issues?
- Review and anticipate potential problems throughout the program.
Slide 30: Questions?

Image: Multicolored hanging tags with question marks on them.
Slide 31: References
1. Pronovost PJ, Berenholtz SM, Goeschel C, et al. Improving patient safety in intensive care units in Michigan. Journal of Critical Care 2008 Jun;23(2):207-21. PMID: 18538214.


